Written by
Amanda Doyle
Sleep Researcher Writer
Reviewed by
Pavel Ufimtsev
Sleep Science Coach
An air mattress can be a terrific investment for creating a temporary sleeping space for guests, as a play space for little ones, or as an addition to your camping gear. However, one little leak can seriously limit the quality of your sleep. Learning how to patch an air mattress is not difficult; most mattress manufacturers offer patch kits and detailed instructions. It will take time and focus, however.
To make sure that your mattress lasts long-term, you will want to patch small holes before they become big problems. If your guests will arrive within 24 hours, fill the mattress and let it sit during the day. Test it for firmness every few hours. A slow leak should show up over time once the mattress is pressurized. This will give you time to patch it or make other arrangements as necessary.
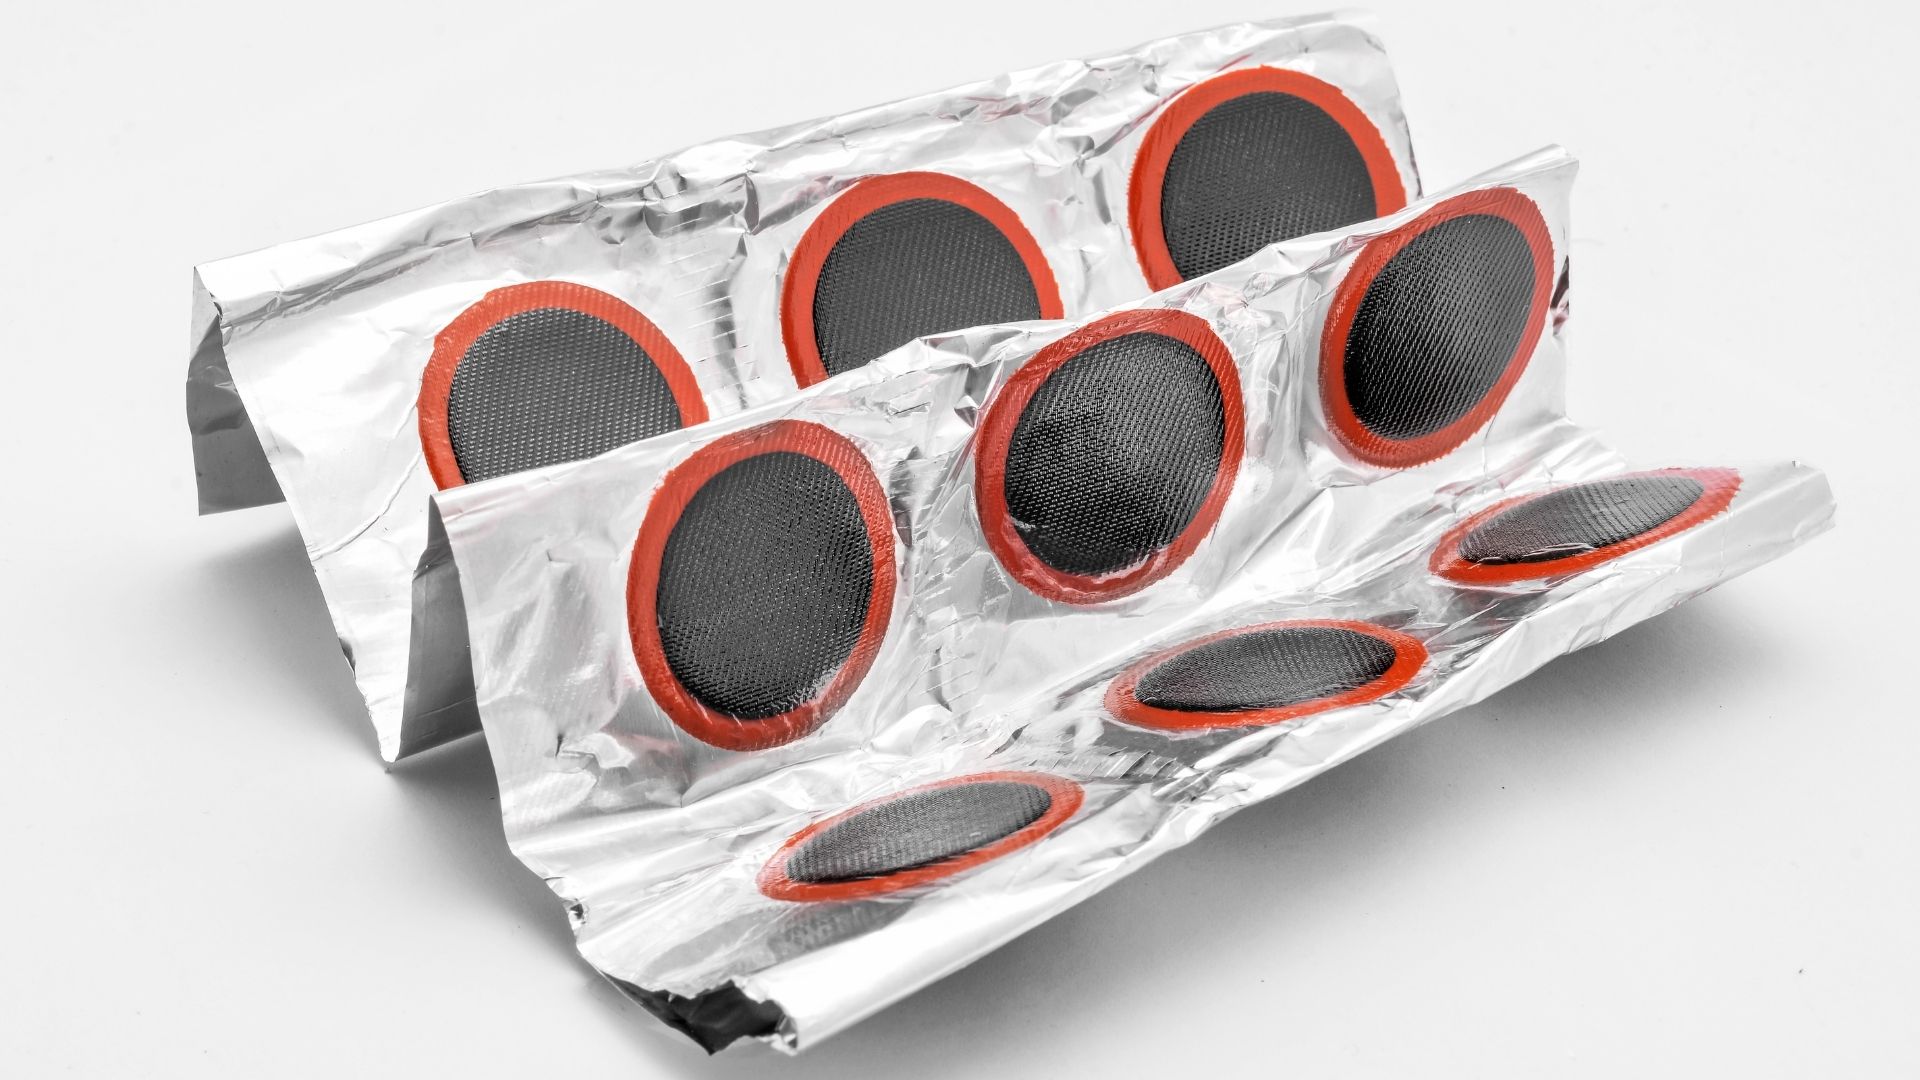
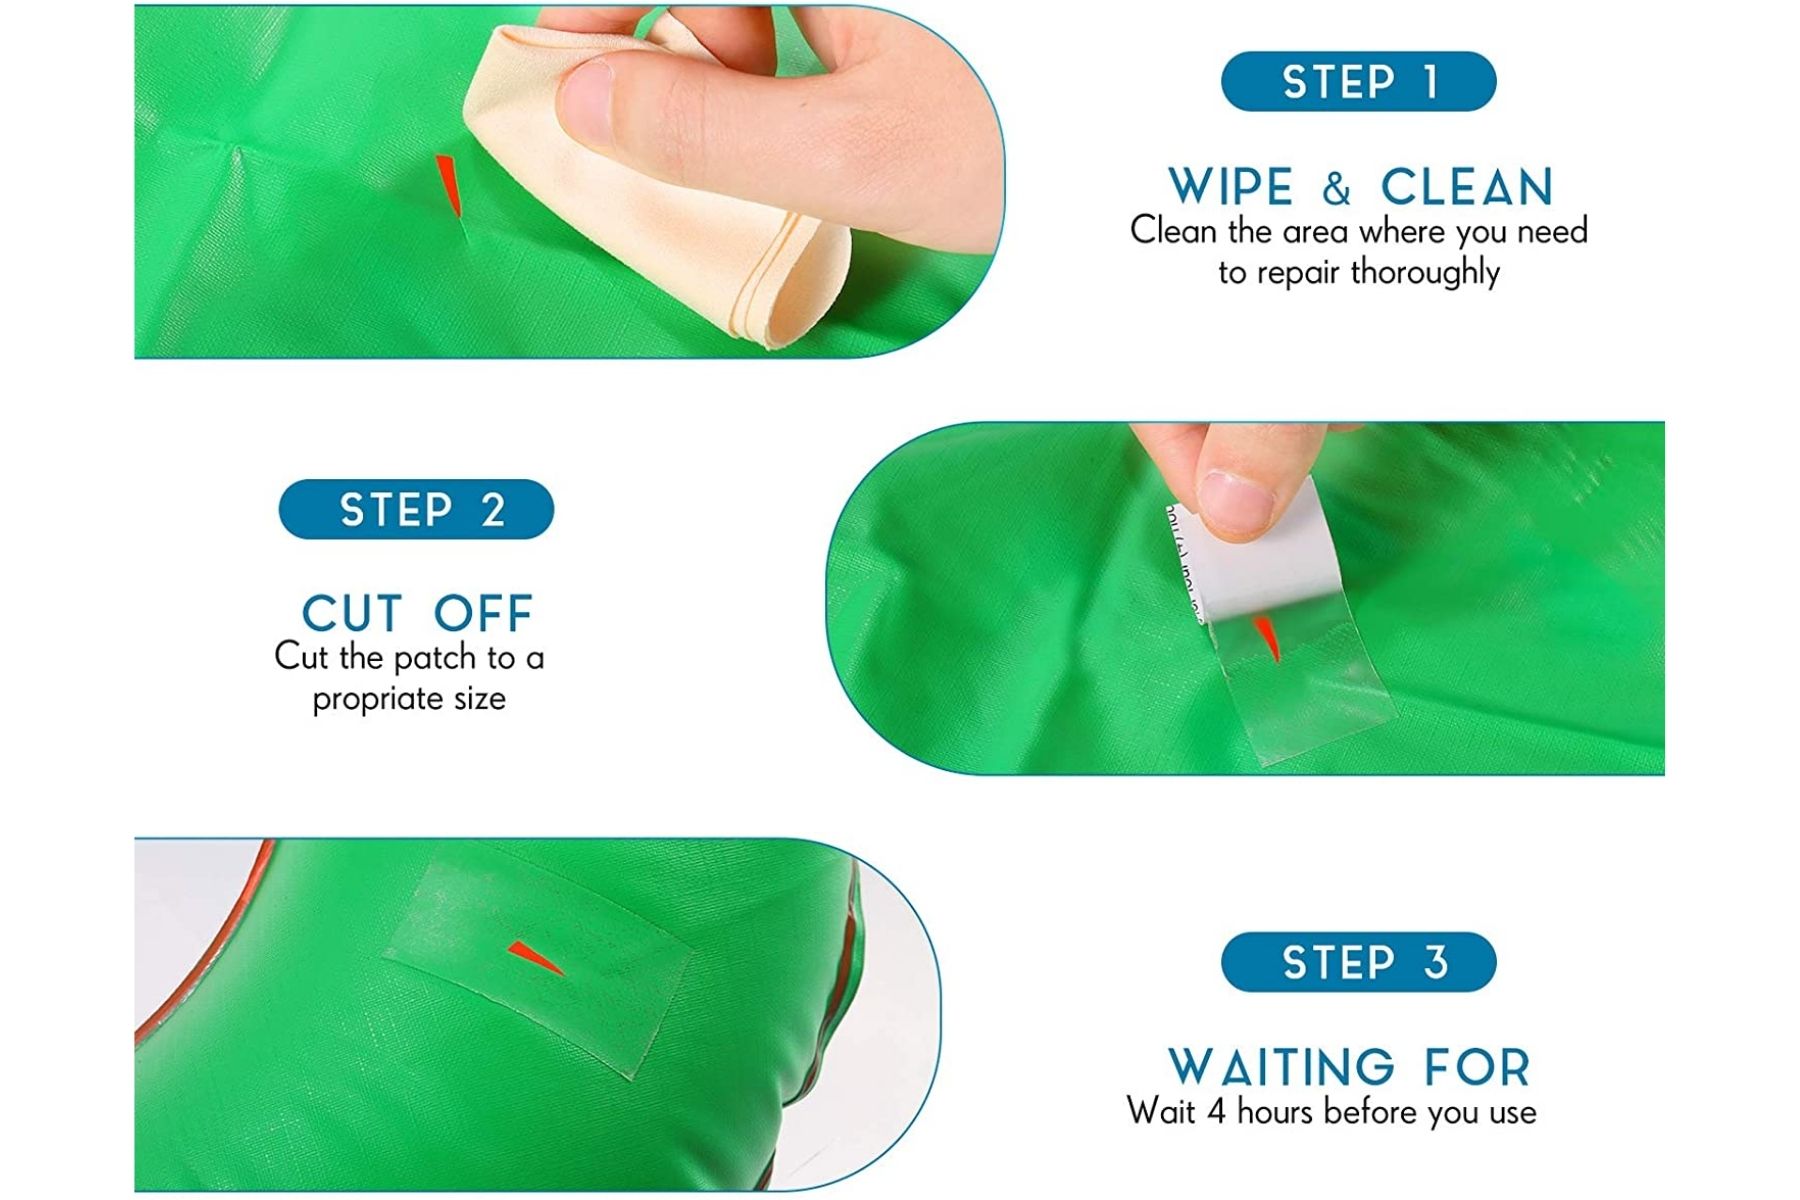
If the air mattress manufacturer offers a patch kit, buy one when you buy the mattress. Without air, the mattress doesn’t function at all. Be prepared for pinholes and follow the instructions to prep the surface, apply the patch and let it cure before you re-inflate your air mattress. Store the patch kit in the bin or box where you keep the mattress.
Things and Materials Needed
Eyes: To start, you’ll want to examine the mattress while flat, both top and bottom. If you’ve been camping, check the bottom of the mattress for dirt. Sand, small rocks and plant matter may have worn a hole in your mattress. When working out how to fix a hole in an air mattress, you can save yourself time by looking for the likeliest cause of the damage.
Ears: Next, inflate the mattress. Listen for obvious hissing. If you can’t hear anything, press on the mattress and listen again.
Tissue: Lay a tissue or a piece of lightweight, silky fabric over the mattress and press again. Under pressure, escaping air will move the material. If you see nothing on one side, flip the mattress.
Pen: Once you find the hole, circle it with a permanent marker. You have your patch site.
Cleaner: Review the patch glue instructions and clean the mattress as directed. Let it dry completely before applying the patch.
Patch and Glue: If you don’t have a kit, a small piece of flexible plastic, such as a piece of a PVC shower curtain liner, can work. The glue needs to go on cool and dry flexible.
Pressure: You’ll need something heavy to set on the patch once you’ve applied it.
Time: Let the patch dry before re-inflating.
Step-By-Step Guide to Fix a Hole in an Air Mattress
How to Find the Hole
In addition to an air mattress patch kit, you can start with something as simple as tissue and a permanent marker. Inflate the mattress and listen for any release of air. If you can’t hear air, put pressure on the mattress and listen again. Your next step is to lay the tissue on the mattress and apply pressure. Move the tissue until you can see where the air is moving the tissue, you have a basic location for your leak.
Once the tissue test pans out, get your hand wet and hold it over the general area of the leak. Moving air should cool your hand, giving you a more exact location. Keep the pressure on and circle the spot with your marker.
If you still can’t see the hole, you will need a spray bottle mixture of dish soap and water. Spritz the mattress in the area where you know there is a leak and press again. The water and soap mixture should bubble up. Circle the location of the bubbles, rinse the mattress with plain water, and dry it with a paper towel. Let the damaged area dry completely while you deflate the mattress.
When searching for the leak, take care not to apply too much pressure. Kneel beside the mattress to press on it so you don’t apply so much pressure that you make a small, manageable hole a larger site of serious damage.
Making the Patch
For those who don’t have an air bed patch kit, you can DIY your air mattress patch. You’ll need
- flexible plastic, such as a small piece of a shower curtain
- a durable plastic to plastic adhesive that will flex
- something flat and heavy
Look for an adhesive that offers anaerobic drying or curing capabilities. When the layers of plastic come together, air can’t get to the center of your patch. Patch the hole by applying the glue to the patch and pressing the patch to the deflated mattress. Set a book or flat bottom box with a bit of weight in it. Let it cure as the glue recommends before re-inflating to test the patch and the integrity of the mattress.
When working out how to patch an air mattress, the glue that you use is critical. If you need a patch for air mattress that has to cure to the suede top, you may need to review the manufacturer’s website to find the best glue that will bind fully to the fabric. You may also get a better seal if you lightly sand the suede top just around the area that you’ll be patching. Clean the sanded area of the fabric as directed before applying the glue.
Curing Time and Future Protection
Once the glue has fully cured, re-inflate the mattress. Consider covering the mattress with a couple of layers of bedding before it gets used again to avoid roughing up the edges of the patch and undoing your work. If you plan to camp again with the mattress in the future, invest in a tarp that is large enough to give you a border around your mattress and protect it from the ground and the dirt that gets tracked into a tent.
Test Your Fix
It’s time to re-inflate your mattress! If you followed the curing time requirements, the whole patch should be stuck fast. If it isn’t, put the weight back on it and give it 8 more hours at least.
Check the Patch Edges
If the patch is stuck fast, fill the mattress. Using a bit of baby powder or your silky piece of fabric, cover the patch and apply pressure to make sure no air escapes the hole. Once properly cured, your air mattress patch should be as secure as the rest of the continuous surface.
Protect Against Future Damage
However, it’s a good idea to use multiple layers of bedding over the patch. Some sleepers may be able to feel the patch through a single sheet. Additionally, a restless sleeper may rub the edges of the patch until they start to curl up, which may damage your air mattress further.
Let it sit
Once pressurized, let the mattress sit without anyone on it for a few hours to make sure the mattress is holding air as filled. Gently lay down on it to make sure the patch is stable once it passes the powder, tissue or silky fabric test.

Enjoy a Hiss-Free Night!
Going to sleep on an air mattress and waking up on a flat sheet of vinyl is not the way to enjoy your camping trip or your family visit. Even a new mattress can have a leak, so do be sure you test your mattress by inflating it and letting it sit before you take it on the road. Your patch kit can easily fit inside the box or bin where you store the mattress. If you can’t buy one, make one by putting a small piece of vinyl, a pen, glue, and a rubbing alcohol wipe in a baggie. In a pinch, you can use the empty baggie as a way to find the leak.